
Implements
How to Match a Tractor to a Rotavator and Other Implements
Tractorbandhu Editorial · 29 October 2026
Check power definitions, PTO speed, linkage, weight and field performance before approving an implement combination.
AI-generated illustration · Not a specific model photograph
Begin with the job and the exact implement
A rotavator purchase starts with the seedbed you need, the soil you work and the tractor already available. Describe soil texture, residue, intended working depth and field access to the dealer. Mahindra’s implement pages list different rotary tiller configurations rather than one universal match. Select an exact model and version for evaluation. A tool described only by a rounded width or a broad horsepower label leaves too many important questions unanswered.
Separate engine power from PTO requirements
Read the headings in the manufacturer’s specification table carefully. Mahindra’s Tez-E MLX page gives a tractor engine power range; that should not be silently treated as measured PTO output. Ask which requirement applies to the implement and whether the proposed tractor meets it in the intended conditions. Engine power, usable PTO performance and traction describe different things. Do not accept a universal horsepower-per-foot rule as a substitute for checking both manufacturers’ instructions.
Verify speed, shaft and guarding together
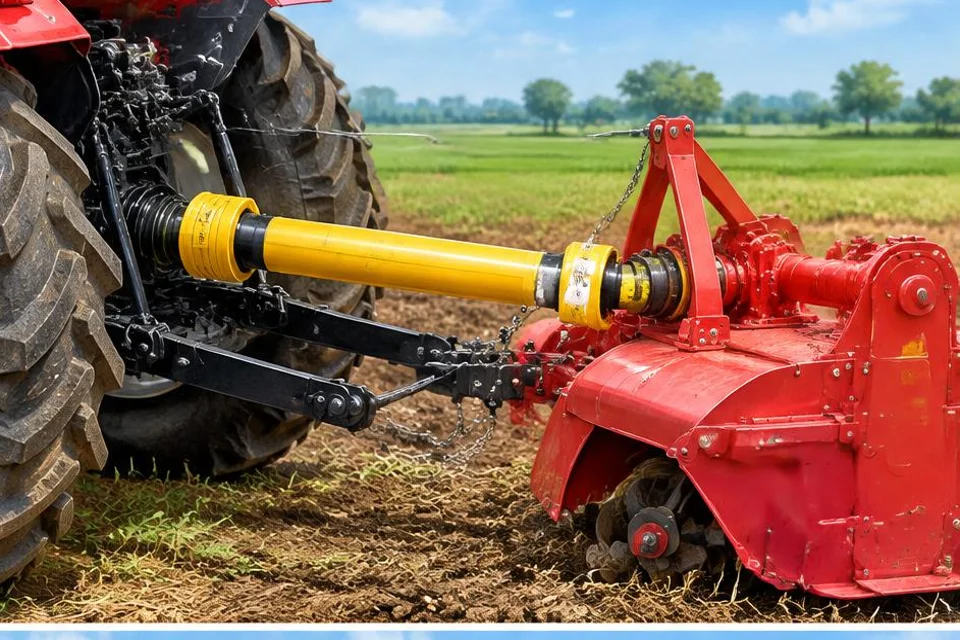
The tractor’s PTO operating speed must match the implement requirement and the correct engine setting described in its manual. A shaft that physically connects is not proof of a safe combination. John Deere’s driveline guidance warns against adapters that overspeed an implement or leave rotating components unguarded. Have a competent technician confirm the shaft, shielding and geometry throughout the approved lift range. Do not cut or modify a driveshaft using improvised measurements.
- Confirm the specified PTO speed and connection.
- Check tractor master shield and implement driveline guards.
- Stop the engine and wait for complete standstill before connections or adjustments.
Check linkage, mass and transport behaviour
Confirm the three-point linkage category, attachment points and the implement’s stated mass, including what the specification excludes. A published hydraulic lift figure alone does not prove that the tractor can safely handle every implement of that weight. The load position, approved ballast, tyre limits and steering response matter too. Ask the dealer to demonstrate the approved transport arrangement. Never stand beneath a raised implement or rely on hydraulic pressure as a maintenance support.
Trial the combination in representative soil
Request a supervised field trial with a trained operator using the manufacturers’ operating guidance. Compare useful finish, depth consistency, wheel slip and handling rather than judging only how finely the soil looks after one pass. Very wet or unsuitable conditions can make a demonstration misleading. Record the chosen settings and conditions so another quotation can be evaluated fairly. If unusual vibration, leakage or repeated stalling occurs, stop work and have the cause assessed rather than forcing the machine.
Create an implement purchase checklist
Before payment, obtain a written compatibility statement for the exact tractor, implement and supplied shaft. Include warranty conditions, servicing, spare blades or other wear parts, and operator instruction in your comparison. Apply the same process to mowers, seeders and sprayers, while checking each tool’s own hydraulic or PTO requirements. The best match is a documented working system, not simply the widest attachment the linkage can raise or the cheapest package offered on the day.
- Keep both manuals and the implement identification details.
- Record included guards, accessories and delivery setup.
- Arrange training before independent field operation.