
Implements
Cultivator vs Rotavator: Choose the Tool for the Field Job
Tractorbandhu Editorial · 29 October 2026
Understand how these implements work, what to check on your tractor, and how to compare a field demonstration before hiring or buying.
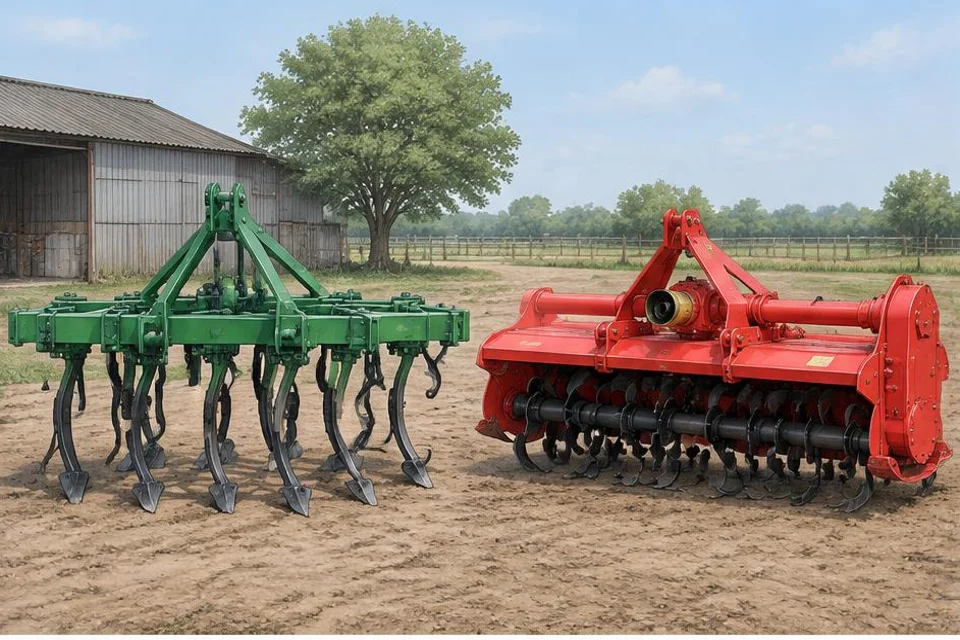
AI-generated illustration · Not a specific model photograph
1. Start with the operation, not the machine name
A cultivator works through soil with tines and shares pulled by the tractor. A rotavator uses a powered rotating blade assembly, normally driven through the tractor PTO. Both may be used in seedbed preparation, but their working action differs. Neither is automatically the best choice for every field, crop or season.
- Describe the required job: loosening, clod breaking, residue mixing or inter-row work.
2. Assess the field before choosing
Walk the field and note moisture, clod size, standing residue, stones and previous operations. A cultivator configuration suitable for open-field preparation may not suit work between crop rows. A rotavator's blade arrangement and working width also matter. Ask a local agronomist what seedbed and residue condition the next crop actually needs, rather than aiming for the finest-looking finish.
- Do not assume that additional passes always improve the seedbed.
3. Match the exact implement to the tractor
Use the tractor and implement manuals together. Check hitch compatibility, implement weight, permitted lifting arrangement and any ballast requirements. For a rotavator, confirm PTO power, specified PTO speed and driveline requirements. Engine horsepower alone does not establish compatibility. Soil conditions and intended depth affect the load, so a model advertised for one tractor may not suit another.
- Have an authorised dealer confirm the complete combination, not just nominal horsepower.
4. Compare actual work and ownership costs
Request demonstrations on representative ground with a qualified operator. Compare the finished job, time taken, interruptions and any additional operation still required. Examine cultivator shares, tines and springs; examine rotavator blades, seals and driveline guards. Obtain local prices for wearing parts, servicing and transport. Compare cost for the completed field task, not merely the hourly charge.
- Record field condition and settings so demonstrations can be compared fairly.
5. Make a safe, crop-led decision
Choose the implement that achieves the required result with a compatible tractor and available service support. Hiring first can help test suitability without committing to ownership. Let trained personnel handle attachment and adjustment under the exact manuals. Stop and isolate the machine before inspection or blockage removal, and keep people away from moving parts and the working area.
- Keep a short record of results to guide the next seasonal decision.